

After months or years of product development, you’ve requested a quote. What’s next? This article explains how to prepare for the upcoming steps and accelerate your project timeline.
Navigating the Stages of Strouse’s Quoting Process
Converted products are custom, built-to-spec solutions. A simple quote usually takes 2-3 business days. Complex quotes may take more than 2 weeks, depending on your project.
|
CONVERTING QUOTE CHECKLIST |
||
|
1. Examining the Project Proposal |
Have you provided all of the necessary information to receive a timely quote? |
[ Y / N ] |
|
2. Defining the Materials |
Are your materials clearly defined? |
[ Y / N ] |
|
Are you open to making adjustments? |
[ Y / N ] |
|
|
3. Building a Production Process |
Can we use our capabilities to help you consolidate your current process (slitting, printing, die cutting, automation, etc.)? |
[ Y / N ] |
|
Have you discussed packaging? |
[ Y / N ] |
|
|
4. Reviewing the Quote |
Did you compare the final cost at different quantities (with scaling in mind)? |
[ Y / N ] |
1. EXAMINING THE PROJECT PROPOSAL
Before issuing a quote, your converter will ask about the part application, from its purpose to its technical requirements. These follow-up questions clarify the final parts of your design.
At any point, you are welcome to request a mutual NDA to protect the privacy of both parties.
2. DEFINING THE MATERIALS
If your drawings have undefined materials, Strouse may provide rolls or samples to help test compatibility with your application's requirements.
If your drawings specify materials, we may recommend alternatives considering price or material lead times.
|
FAQs about Material Quotes |
|
|
When would I have to order higher material quantities? |
Most materials have a Minimum Order Quantity (MOQ) that makes it more challenging to place smaller orders. |
|
How do I handle a long material lead time? |
If your chosen material had a 50+ week lead time, we will search for an appropriate substitute that you could get in a shorter period. |
|
Should I send material? |
There are pros and cons to supplying your adhesive material. |
|
Why do I need more than the exact part dimensions’ worth of materials? |
Calculating the material quantity your project needs has to include both the material used to make the part AND the machine setup/run waste. |
|
How quickly can I get material pricing? |
Our suppliers’ response time can affect the time it takes us to complete a quote. While some vendors offer upfront material information, others take longer to respond. |
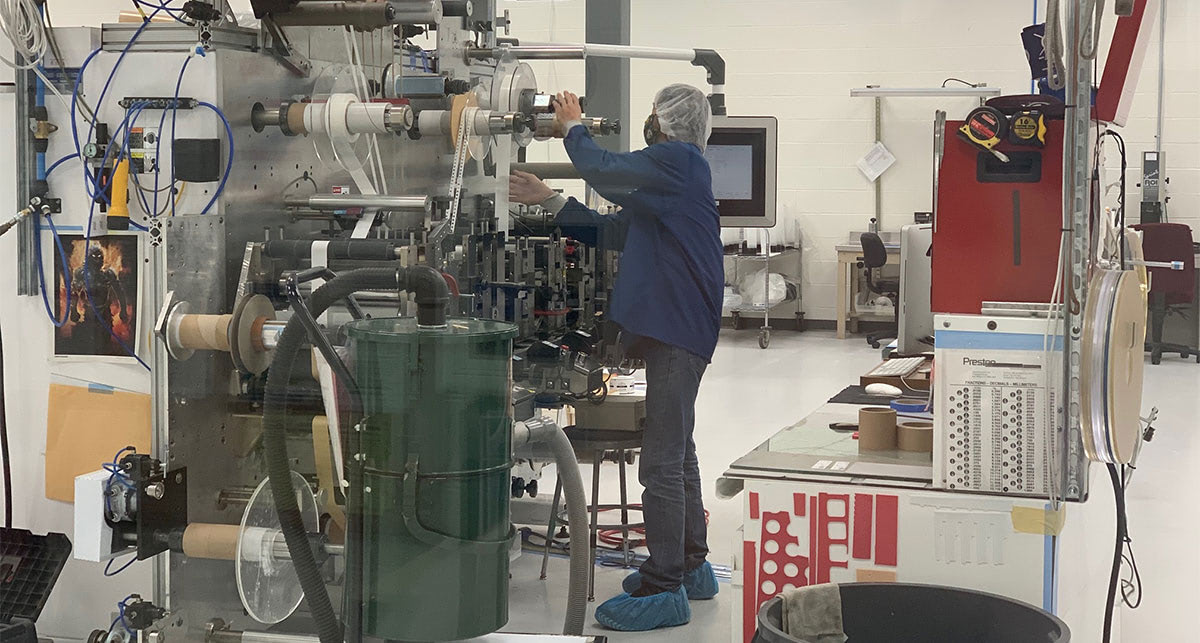
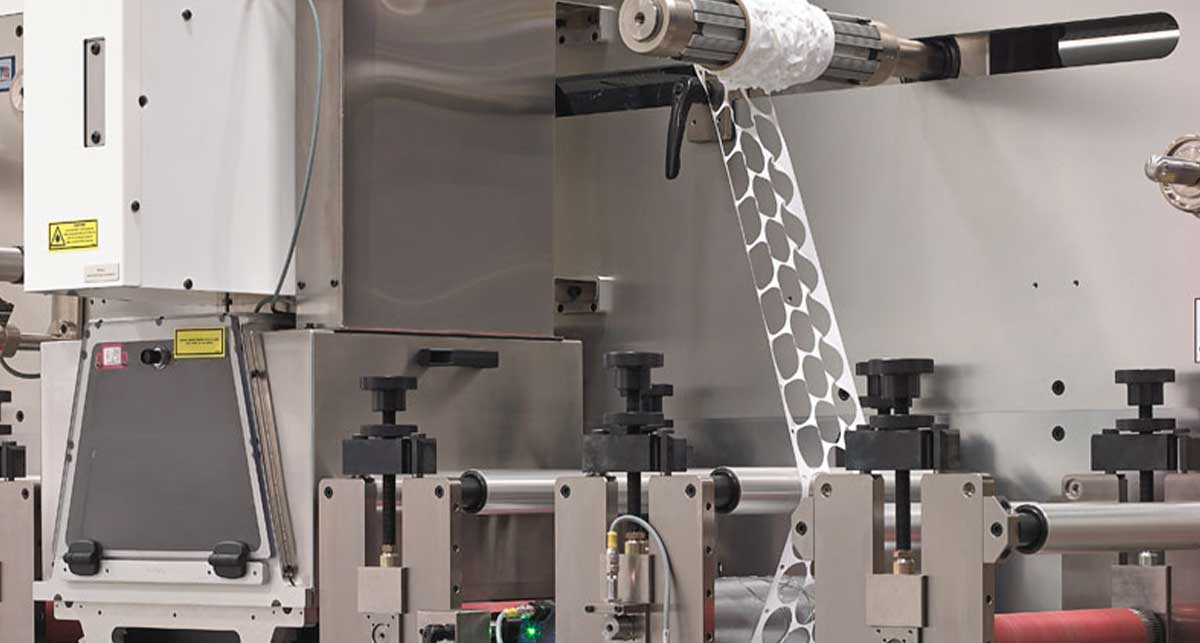
3. BUILDING A PRODUCTION PROCESS
To manufacture your product, our engineers define the process using your design measurements.
During process planning, we will:
- Examine your tolerances to determine which production methods are feasible and make the most economic sense for you.
- Confirm the final materials to be used on the machine press, including any necessary support materials.
- Draw a process diagram for our operators to follow
- Define the time needed to set up the press, produce your order, and complete clean-up after the job (this determines labor cost).
- Discuss packaging and supplying for your end purpose
Every part we make is custom, with unique diagrams, processes, and plans for each quote we send.
4. REVIEWING THE QUOTE
Your Strouse quote includes project lead time, quantity, unit price, total price, and further details. Once you confirm the quote, we begin sourcing adhesive and building the project timeline.
If you’re looking to speed up the quoting process, the best thing you can do is provide technical information about your product and application so we can plan a rapid, effective solution.
Converting Quote Pricing
If you have questions about our pricing or process, please contact us. As every job is custom, we want to ensure your solution is functional before it reaches the press.

We know that you may still have some questions about quoting. Whether you have questions about the process or need an update on a previous quote, our team is available to provide any clarification you need.
Originally published: January 27, 2023