You’ve finally summoned the courage to get a sample of your adhesive part, yet, the longer you’re left waiting for a response, you’re left wondering what the sample-making process will look like and how quickly you’ll receive it.
Nearly all of Strouse’s current partners successfully received samples before moving forward with their die cut project.
Using our previous experiences, we’ve pieced together a guide to show you the three most crucial steps throughout the sampling process.

What Can I Expect After Requesting a Sample?
Generally speaking, it takes 2 days to a week to finish samples.
The complexity of your part’s design or materials determines your sample lead time. Our solutions are custom-made, and complex designs make it challenging to plan the creation process.
On the other hand, complex materials can be more difficult to locate. These materials increase lead times, and we might offer a substitute depending on your need.
After requesting a sample, you can expect us to figure out what your part needs, find sample material, and begin the sample creation process.
STEP 1: FIGURE OUT WHAT’S NEEDED AND ANY ADDITIONAL FEATURES
The first step of sample-making isn’t firing up the laser; it’s asking follow-up questions to plan an operation.
To effectively build your part, we’ll need to inquire about your product’s design, purpose, and functionality:
Why is your part designed to look the way it does?
What solution is your part offering?
Follow-up questions target your design, material, quantities, or other aspects to help us determine your needs. For example, if your part is going to be thick plastic, we can reserve the flash cutter machine instead of the laser to avoid melting the material.
Your answers will give our engineers a better understanding of your design’s components and features:

Strouse isn’t a design house, and product development can take 1-6 months, depending on how complex your part is, so if you don’t have a part design, you might be too early in the converting process.
We’ll gladly agree to a discussion if you’re interested in bolstering your design by adding additional features like tabs or liners. However, before we begin making samples, we’ll need to know the exact quantity and agree on a material.
STEP 2: FIND SAMPLE MATERIAL
The material we use for samples is often free but limited in quantity, meaning your quantity of samples might be limited. We’ll produce samples based on the amount of material, but if you need more, we will ask you to cover the cost.
We try to keep samples of a lot of materials on hand, however, if we don’t have that material in house, we’ll have to get it from a supplier, which could delay your sample lead time beyond 2 days. If acquiring your chosen material is challenging, we might offer alternate materials or suppliers to help save money and reduce lead times.
In addition, laser cutting is a slower process and not ideal for large quantities. We may ask you to pay for engineering time if you need a large number of samples.
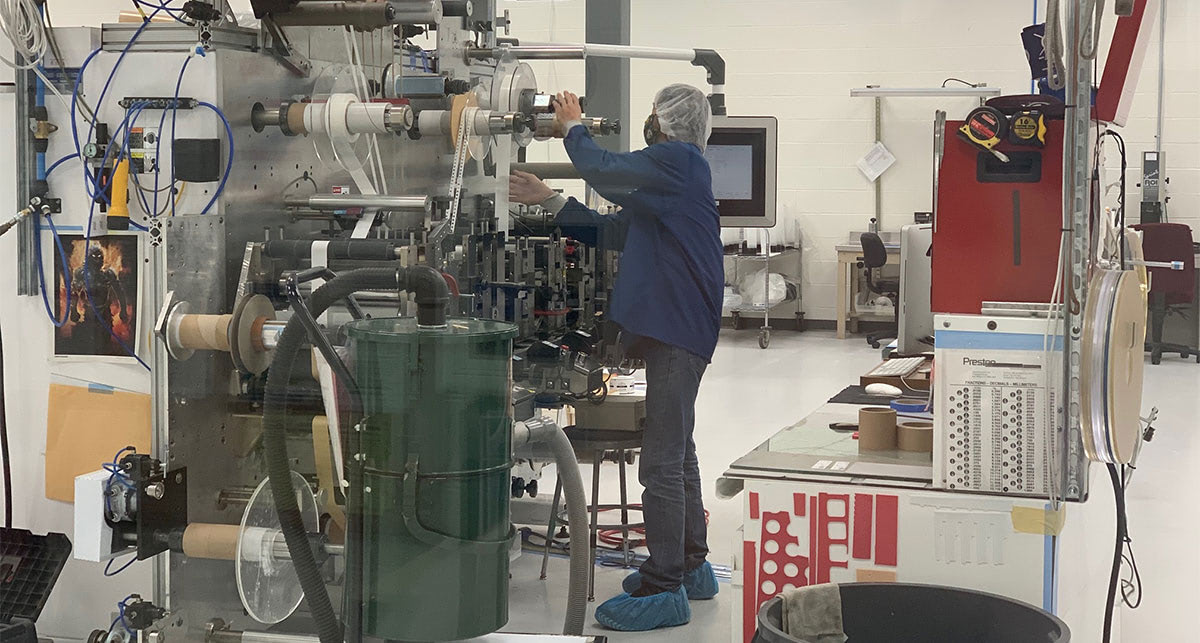
STEP 3: SAMPLE CREATION
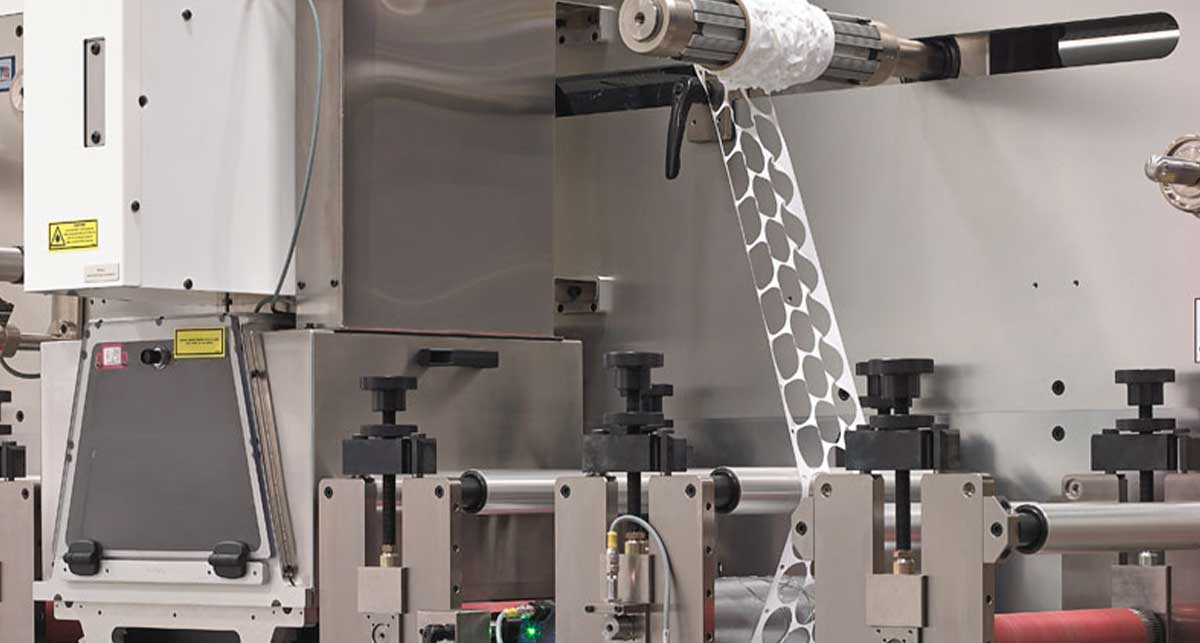
Strouse uses two main processes to create samples: Flatbed laser die cutting, and flash cutting.
Laser die cut samples can be highly precise and pressure sensitive, but they run slowly, so they aren’t suitable for high quantity orders.
Flash cut samples leave little divots on the edge of the material, but they’re quick and efficient. Also, you can use a flash cutter machine to cut many materials that aren’t safe on a laser. Other than flash cut or laser cutting samples, your other option is electing for a die cut trial.
If your product needs proof of process or validation and verification, you should ask if a trial on a rotary die cut press is the right option for you. Unlike most sampling options, die cut trials cost money, but they also enable you to see your prototype as it will be.

Once you receive the created sample, it’ll be up to you to determine whether it functions for the intended part application or if there are any material or design changes you’d like to make.
How Can I Make the Sample Process Flow Smoothly
Telling us more about your product upfront is guaranteed to speed up the sample process.
Providing more information saves us time that would otherwise be spent asking questions or trying to understand your part based on the drawing.
If you’re thinking about maximizing the effectiveness of your design, or want examples of questions we’ll ask about your process, see our Tips To Succeed in Your Adhesive Design Phase.
Remember the general rule is 2 days to a week to get your samples made. If certain things occur, it could take significantly longer.
You’ve worked hard on your part design, and if you have any questions about the sample process, ask one of our experts to help you get started.