As you settle at your desk with a fresh cup of your preferred hot drink in hand, you might find yourself wondering, How can I turn my idea into an effective design?
While we aren’t a design house, Strouse assists most clients with their design to improve its intended purpose and enhance it for manufacturability. Whether you’re starting from scratch or working off of an existing design, these steps should help refine your design for a smooth and painless production.
Before you commit to your final design, review the following guide to ensure that you’ve thoroughly considered each aspect of your drawing from a practical standpoint to achieve the best cost and function. You’ve got an idea, now follow these steps to learn how to design a product.
Understanding Design Goals: Manufacturability and Affordability
When translating your idea into a drawing, we ask, “How do we ensure we’re working toward making it manufacturable and affordable?”
If you can only meet one of these criteria, there’s room for improvement. Succeeding in both will create a painless process for you and your converter.
This guide will focus on the technical design aspects of successful products, but for advice on market research and where to conduct user research, see our beginner’s guide on the product development process.

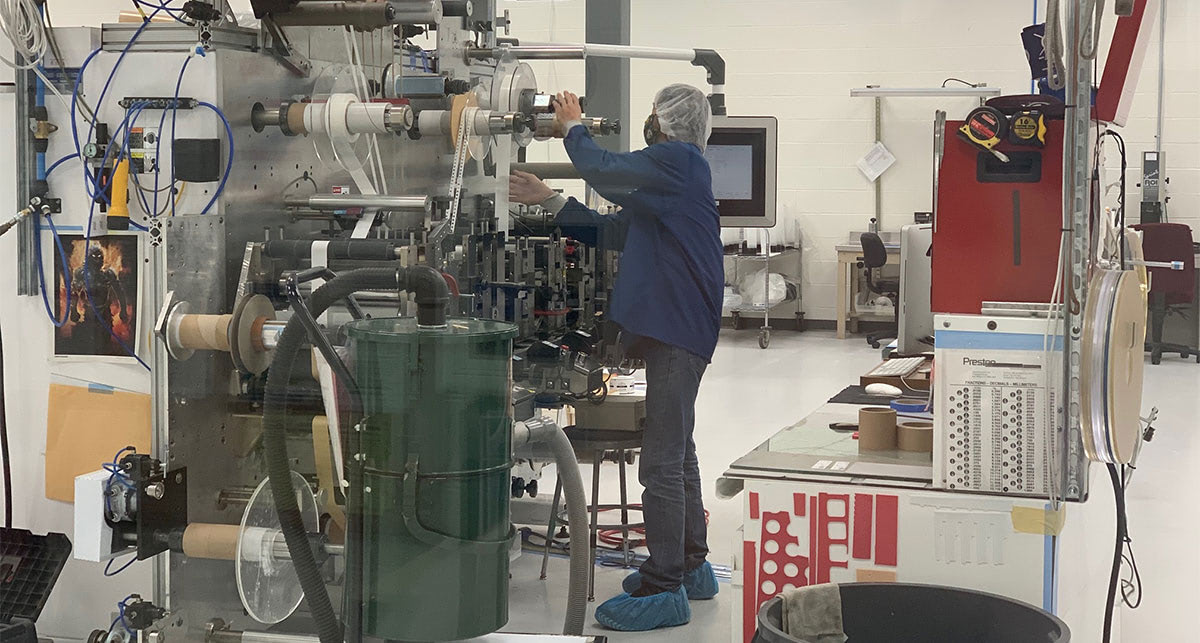
Creating an Effective Drawing for Manufacturing
Let’s cover the basic measurements your drawing requires and additional context that will allow a converter to deliver a functional part.
1. INCLUDE THE ESSENTIAL DETAILS: DIMENSIONS, TOLERANCES, AND FEATURES
a. DIMENSIONS
Your part dimensions refer to the design's length, width, height, and all of the other internal features. Fully dimensioned drawings allow converters to determine your product feasibility. It is important to have every feature defined so we can accurately create tooling to match your product’s design.
b. TOLERANCES
While your dimensions matter, it’s equally crucial to consider your part tolerances, which determine how precise a cut needs to be.
You may not know all of your part's exact tolerances at the beginning of the design phase, but having them will expedite the design and quoting process.
Tighter tolerances are more expensive to manufacture in general due to the necessary tooling and quality inspection. We’ll explain this in more detail later when discussing potential design challenges.
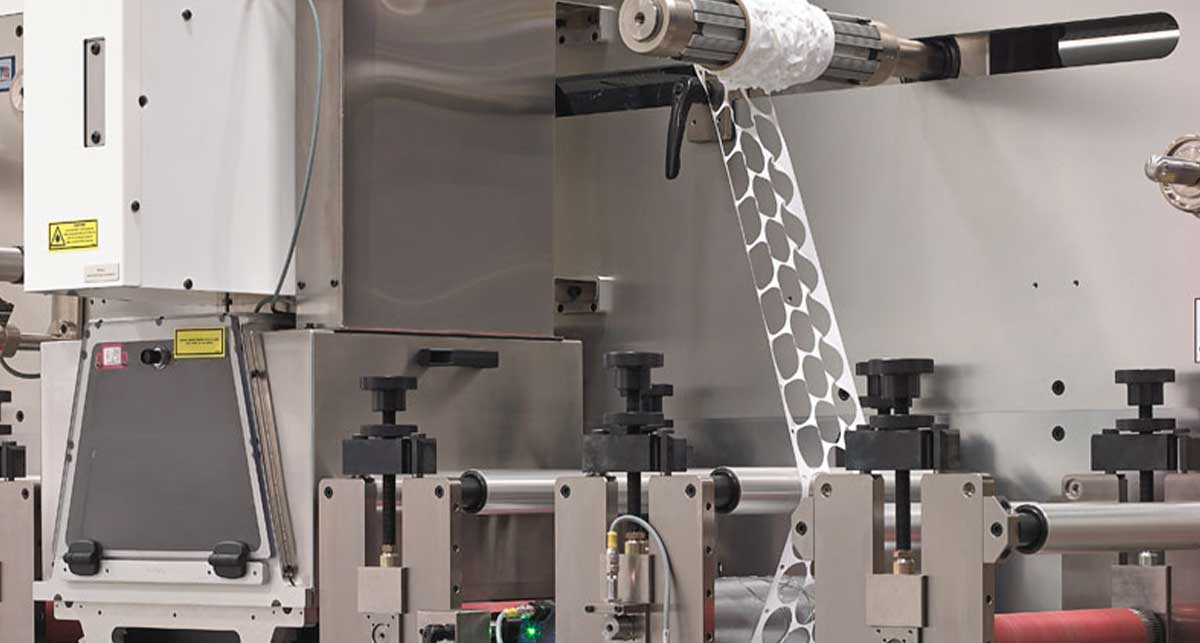
c. FEATURES
Part features could refer to anything from holes to liners. Complex part features may involve multiple layers or precise tolerances, which can lead to more complex manufacturing processes.
Your converter will help simplify your design and manufacturing process, which will shorten machine runtimes, reduce material waste, and ultimately save you money.
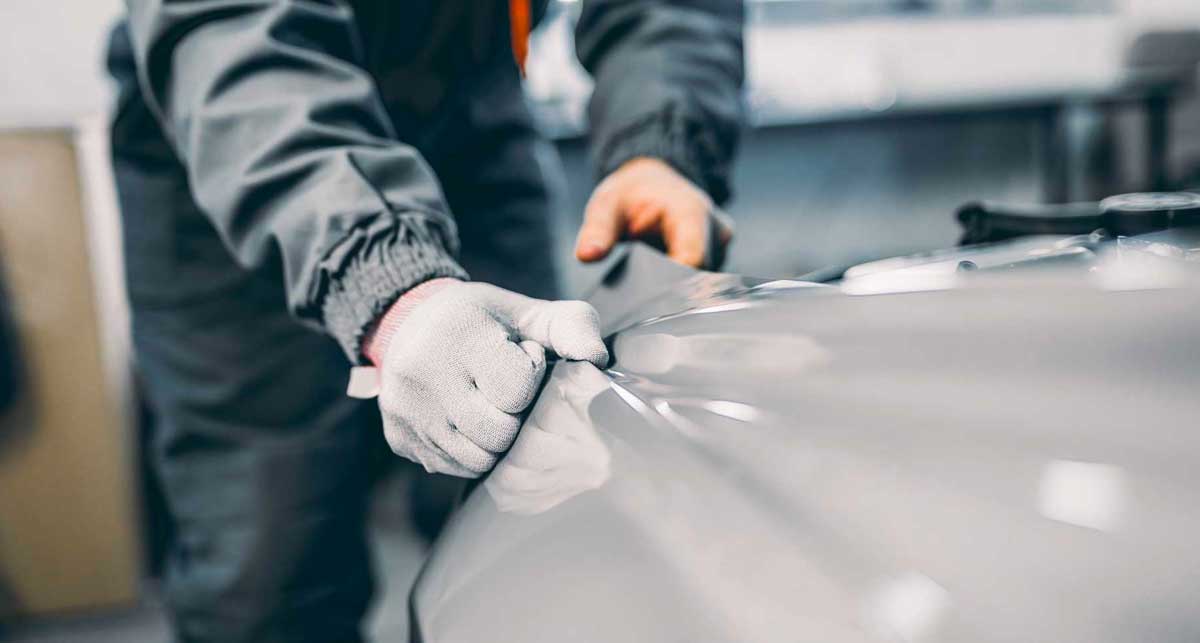
2. TAKE CONSIDERATIONS TO FIT YOUR APPLICATION METHOD
Whether you’re applying parts by hand or using a fancy tool, you’ll want to plan your design carefully to ensure that the tolerances and chosen materials suit your process.
If you’re applying parts by hand, then overly tight tolerances are likely unnecessary. However, if your product is automatically applied with critical placement, you’ll want your adhesive part to have specific, tighter tolerances to ensure it fits.
Automating your application method can help you scale up your process, but it requires a higher standard of tighter tolerances. Tell your converter what your goals are for scaling and automation so that they can help adjust your design to support its application.
3. PREPARE A PRODUCT SUMMARY
If someone handed you an illustration of a triangle and asked you to make a part component out of it, you’d probably ask, “What is this, and what does it do?”
People frequently send in part drawings with minimal description, but as a converter, it can be challenging to understand the whole picture without context. Knowing your product’s purpose will help your converter avoid errors.
Describing your product’s primary purpose will demonstrate your goals and allow your converter to understand what you hope to achieve with this part.
While the technical drawing might seem like enough information, providing a clear understanding of how your product functions or how you intend to use it will allow engineers to offer design and process suggestions to improve production.
We understand that as an entrepreneur, you may be hesitant to disclose your idea; that’s why trustworthy converters will suggest a mutual NDA to protect all information sharing. You can also rest assured that Strouse has never launched its own products or designs commercially. Anything we make is intended for you & your customers.
How to Ensure Functional Design Elements
What’s the point of a complex drawing if the part doesn’t function properly? In order to have functional design elements, design teams must account for multiple factors.
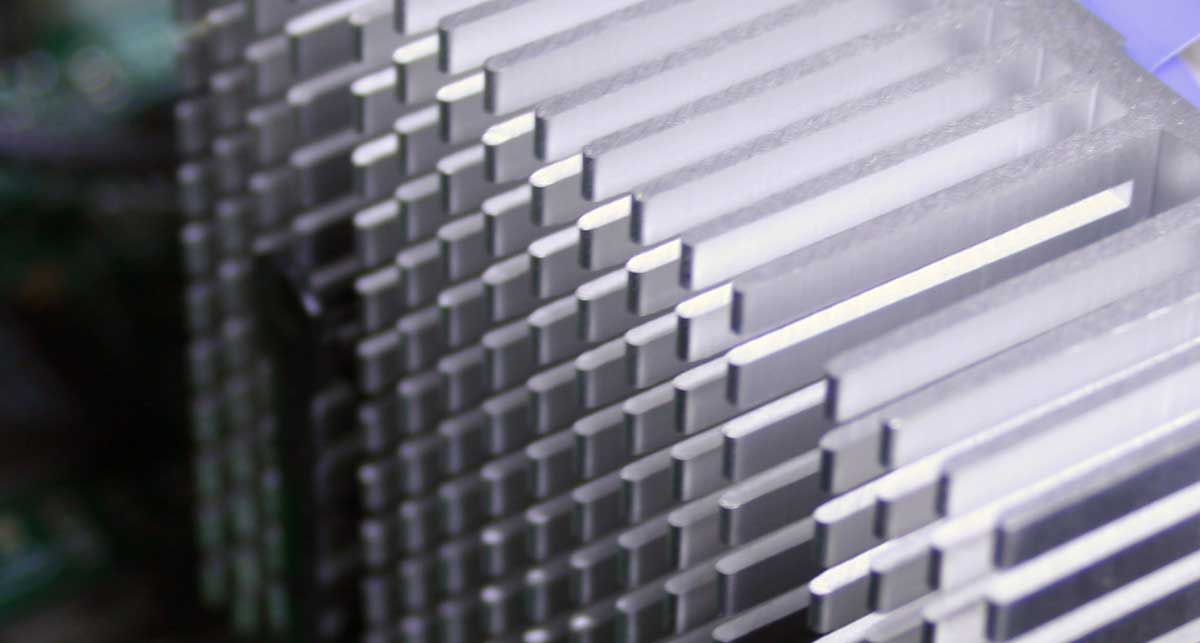
i. LAYER STACK-UP AND DESIGN ELEMENTS
When it comes to creating a multi-layered technical drawing, it’s crucial to specify the level of precision required for the overall alignment of a stack-up to perform as intended.
A layer stack-up can make it more challenging to maintain tolerances between different features or design elements. Consider the following drawing.

If layers A and B each have a tolerance of 1”±0.25”, they could result in dimensions like 0.75” for A and 1.25” for B. However, when aligning holes across layers, the key isn't the individual tolerances but the overall alignment to ensure the part functions correctly.
The final result often requires tighter overall tolerances than the original specs. Clarifying how layer tolerances relate to one another is crucial to avoid errors.
ii. BALANCING MATERIAL CHOICE AND DESIGN
Before you choose an exact material, you should inquire about your converter’s capabilities and whether they can achieve the precise tolerances you require.
Certain flexible materials are harder to cut, affecting your design's tolerances. For example, when you apply tension to foam and cut it, it tends to shrink after the tension is released. Due to the material’s behavior, cutting hyper-precise shapes out of foam is more intensive.
Involving a converter during the early stages of the product design process will help ensure your initial material selections are compatible with your chosen manufacturing method. Thanks to existing supplier relationships, converters may also recommend alternative materials at better prices.
Remember when we mentioned the importance of part dimensions? Providing exact measurements in your drawing will allow converters to suggest and test different types of material with accuracy.
Common Challenges in the Design Process
There’s nothing worse than getting stuck in the design process and not knowing what to do next. To avoid this, we’ve gathered a few of the most common challenges and devised tips on how to overcome them.
CHALLENGE 1: OVERCOMPLICATING DESIGNS
Complex designs are expensive, and no one wants to make their design overly pricey. These high-level designs cost more because:
- The machine press may take longer to set up (adjustments for a complex process)
- Increased material waste
- Higher quality standards may require additional time or equipment
- Die cut tooling with an intricate build, tight tolerances, or higher-quality steel is more costly
As a converter, engineers often approach us with overcomplicated designs. In response, the Strouse team suggests alterations and explores different ways to create the same product.
If you are open to changing your design for manufacturability without affecting its functionality (it should work the same or better), simplifying your design will allow you to save time and money.
CHALLENGE 2: TIGHT TOLERANCES AFFECT THE COST
Although tight tolerances significantly increase the complexity of a design, many people don’t realize that the tolerances on their drawings aren’t accurate to what they actually need.
Functional tolerances are the ranges of measurements that must be met to ensure part functionality, and they often differ from standard title block tolerances, which may be unnecessarily stringent for die-cut products. Therefore, you should use functional tolerances rather than default title block tolerances to achieve the best overall converting price.
How Does Design Flexibility Improve Your Results?
Adjusting your design for manufacturability will improve the process without impacting your product’s functionality.
Although adjustments may cause you to hesitate after spending so much time refining your drawing, implementing converting suggestions will allow you to prepare a more manufacturable design.

An experienced converter can help you achieve your business goals by developing a successful final product. Reach out for a quote, and Strouse will lead you through our consultation process to determine the most effective way to build your design.
If you have specific questions about the design phase, please don’t hesitate to ask. We’re here to help you with your part design so you can comfortably bring your product into reality.
For more information on our processes, you can check out our Capabilities page or visit our Learning Center.
Originally published: January 23, 2023