You’re sorting out your part production details when the dreaded question arises: “How much will it cost to print on this?”
Truth be told, custom die cut printing is too complex to throw out a single number (and you might want to watch out for converters that do).
Due to the variability of the materials and the nature of die cutting, each custom design will have different printing requirements. However, as a flexible material converter that’s been printing for over three decades, we’ve used our experience to create a list of die cut printing cost factors.
After reading through this list, you should better understand the cost of die cut printing and how to pursue printing with your design.
What is Custom Die Cut Printing?
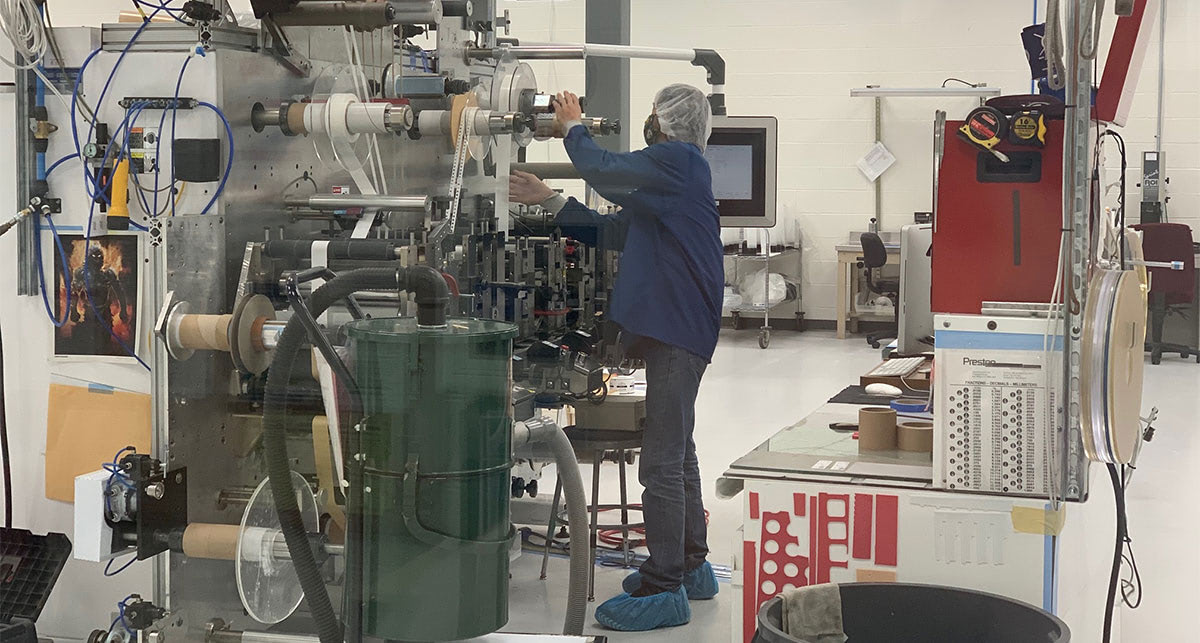
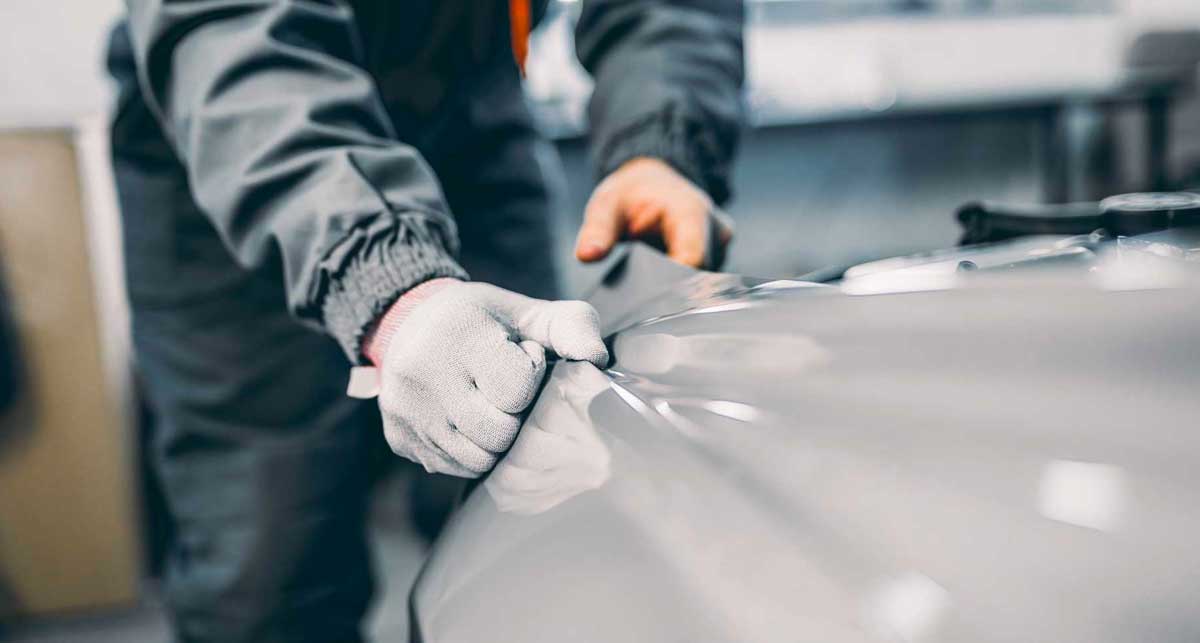
Printing is a standalone process that can be integrated into die cutting on a machine press. Custom die cut printing is often used to display labels, logos, instructions, bar codes, and other essential product markings.

Factors Impacting the Die Cut Printing Cost
Every product uses different materials with a unique shape, which can alter the production complexity. Die cut printing is a highly customizable process that relies on the individual needs of each design.
FACTOR #1: THE TYPE OF INK
Your ink choice can be as critical as your printing material.
UV and metallic inks are both significantly more expensive than other types. For instance, a metallic ink might cost $125-175 per gallon, whereas a regular water-based ink would cost closer to $20-50.
Coordinating your ink choice with your material selection is also essential to printing planning.
Low surface energy (LSE) materials, like certain plastics or polyester, are far more challenging to print on because the inks don’t want to adhere. Converters can use corona surface treatments to print on an LSE material, but unfortunately, this does increase the final cost.
Before you decide upon your material and ink, check in with a flexible material converter to ensure that the combination you choose makes sense for your project and ensures a feasible manufacturing process.
FACTOR #2: DESIGN COMPLEXITY
The number of colors you want and your desired image quality will affect the final cost.
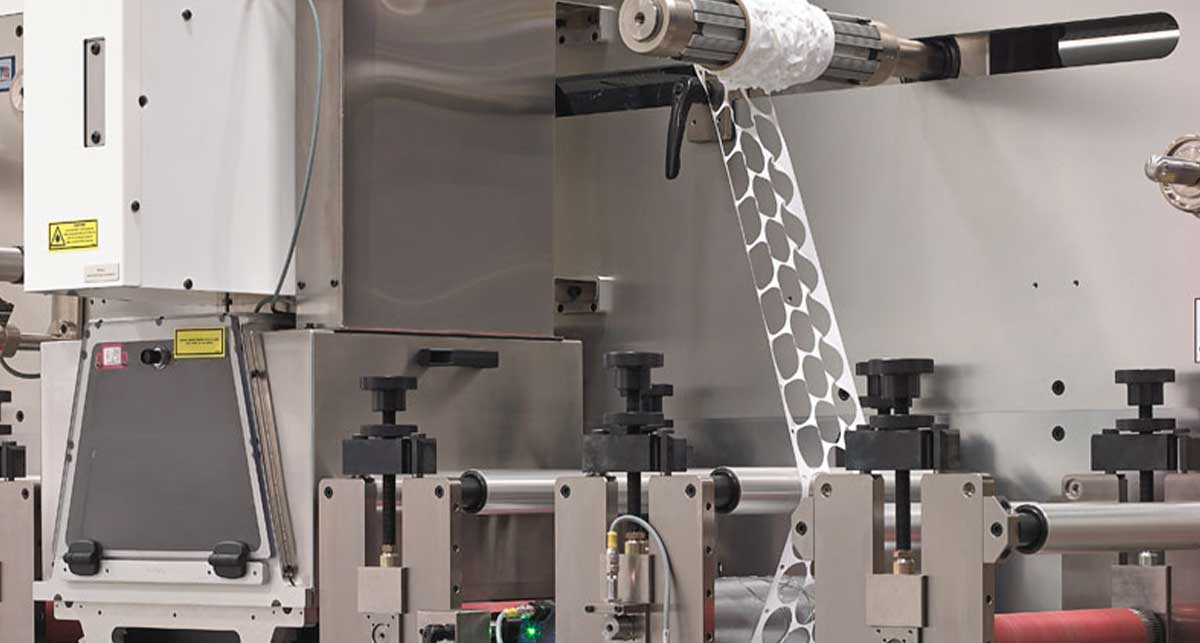
While it may seem simple, the number of colors used can raise the complexity and price of building a design. Designs with 1-3 colors are standard for die cut printing, but any more than that could require multiple passes through the machine press.
When it comes to die cut printing, the material’s texture often affects the image quality. Rougher textures will produce blurrier designs, but whether that’s acceptable depends on how accurate you need your design to be.
To achieve a more accurate design, converters can sometimes put a laminate over the chosen material, which also serves as a protective coating and adds a glossy look. Unfortunately, additional laminates will add to the final cost of any design.
FACTOR #3: REGISTRATION, ACCURACY, AND QUALITY
Any trustworthy converter will inquire about your design’s die cut tolerances, but there’s also the matter of printing accuracy. The importance of printing accuracy could vary depending on your part application.
For instance, if your part is automated, you might need a feature like exact registration marks printed onto the material for other machines to read. On the other hand, it’s possible that something such as a logo or ID number could be printed with slightly more freedom of movement and cost less in terms of tolerances and precision quality checks.
Similarly, your part quality process depends on your product's specific requirements. Some products are unaffected by printing variability, whereas others need high-precision printing to function.
So, why is this relevant to the cost of printing? Both precise tolerances and high-quality verification needs can contribute to a higher project cost.
FACTOR #4: PART QUANTITY
Although you might think 2,000 parts is a high quantity, it’s a fraction of the average product order in the world of converting.
For smaller manufacturing quantities, most of the time spent building a part consists of the die cut setup process. However, one unique feature of die cutting is that the setup cost difference between 2,000 and 2 million parts is negligible because the setup process is a steady, built-in expense for each project regardless of how many parts you order.
Additionally, setting up and breaking down the machine press for a print job can take longer than regular die cutting because of cleaning up ink afterward.
Regarding part quantity, understand that while converters like Strouse technically have no minimum order quantity, smaller printing orders will be significantly more expensive.
How Can I Get Started with Die Cut Printing?
So, you want to pursue custom die cut printing. What’s the best way to get started?

While there are many roads to converting, it begins with discussing your design and project expectations to determine the best possible next steps.
During this process, your flexible material converter might ask you questions such as:
- What’s the material?
- What is its end environment like?
- What are your quality expectations?
- How critical are these expectations to your design performance?
- Do you have a sample of what you’ve been receiving?
These questions will allow your converter to build a better product with a complete understanding of your current process, planned timeline, and quality standards.
Are you looking for more information on die cutting before you dive in? You can learn more about the materials, timeline, and tooling in our Learning Center.